When a candidate clicks the Apply with SEEK button,
your software must redirect them to the  If the candidate clicks The values returned in the redirect are:
If the candidate clicks A candidate landing on the Apply with SEEK authorization page may run into the following edge cases:
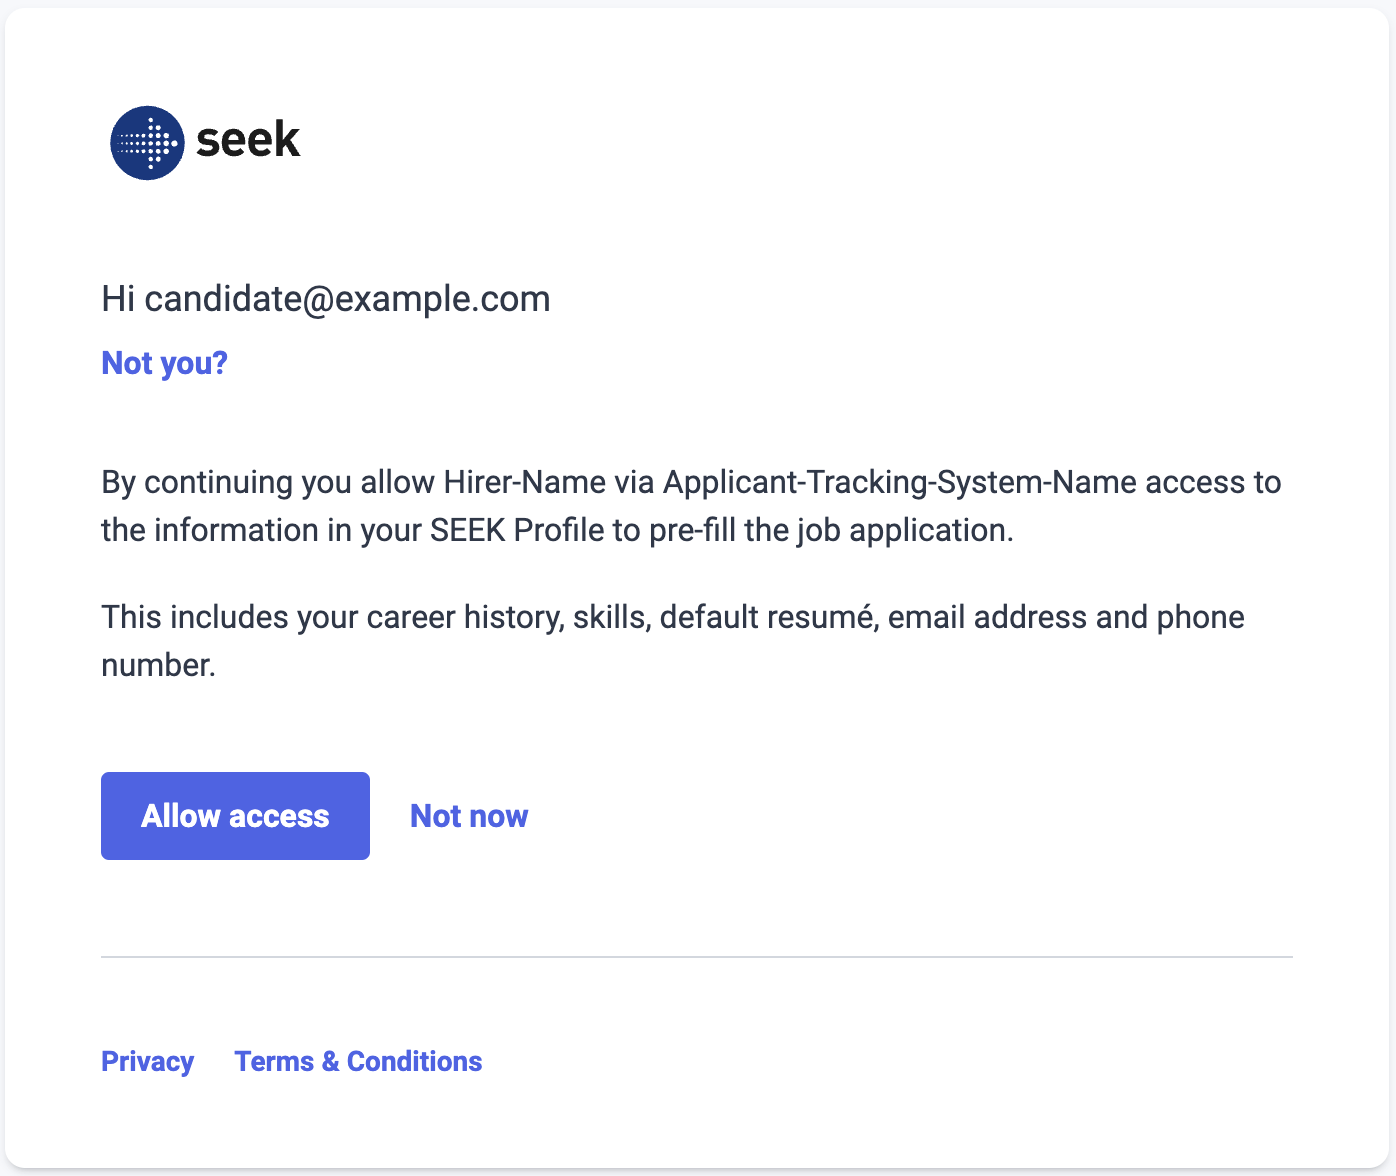
url from the applyWithSeekButton query to complete authorization.The candidate will then see the Apply with SEEK authorization page.
If the candidate is logged in, they will see the image below, otherwise they will see our login screen first.
Allow access,
they will be redirected to your supplied redirectUri with additional parameters in the query string.For example, if your redirectUri was https://example.com/position/123/apply, then after authorization the candidate would be redirected to:Text
Copy
https://example.com/position/123/apply?seek-prefill-id=globalPublicTest:candidateProfile:prefill:1111111111111111&seek-token=eyJqb2JJZCI6MCwiY2FuZGlkYXRlSWQiOjAsInNlc3Npb25JZCI6IiJ9Parameter | Description |
|---|---|
seek-prefill-id | A unique identifier that can be used to retrieve SEEK Profile information. |
seek-token | A unique token for the candidate session that your software should store and use to send subsequent signals. This should override any seek-token received from the query string when the candidate initially arrived from SEEK. |
Not now,
they will be redirected to your supplied redirectUri.If the candidate arrived from SEEK,
the original seek-token will be present in the query string.
In this scenario,
your software should propagate the seek-token parameter to subsequent signals like apply form submission.For example, if your redirectUri was https://example.com/position/123/apply, then after authorization the candidate would be redirected to:Text
Copy
https://example.com/position/123/apply?seek-token=eyJqb2JJZCI6MCwiY2FuZGlkYXRlSWQiOjAsInNlc3Npb25JZCI6IiJ9- The authorization request may be invalid or expired.In this case, we instruct the candidate to navigate back in their browser history.
- The authorization request may have been previously fulfilled by a different candidate.This may occur if a candidate shares the URL of their authorization page with someone else. In this case, we instruct them to navigate back in their browser history.
- The authorization request may have been previously fulfilled by themselves.This may occur if a candidate navigates back to their Apply with SEEK authorization page. In this case, we automatically redirect them to the Not now path.